As an Amazon Associate, we earn from qualifying purchases. Some links may be affiliate links at no extra cost to you. Although our opinions are based on curated research, we haven't used these products. Articles generated with AI.

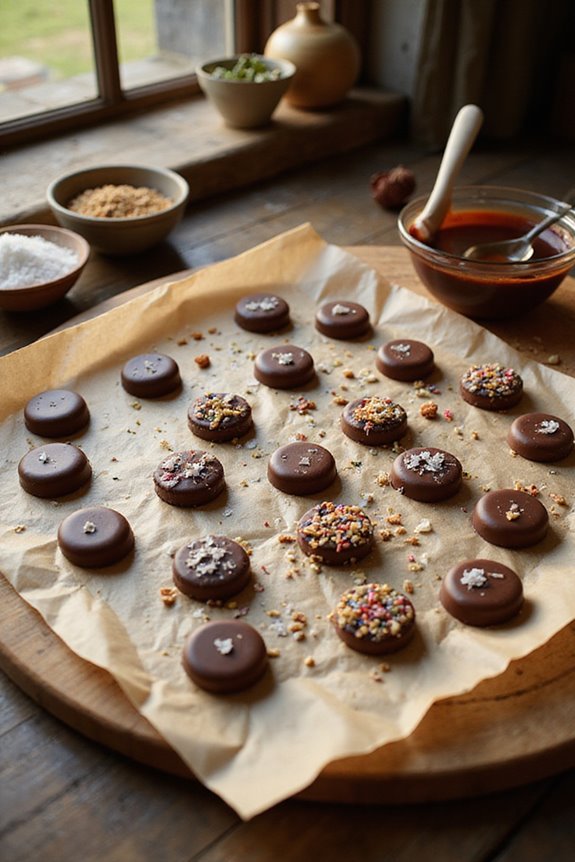
How To Make Chocolate Buttons?

To make chocolate buttons, we begin by selecting a high-quality chocolate variety, preferably pure chocolate with ideal cocoa content. We then melt the chocolate using precise techniques, ensuring we stay within specified temperature ranges—dark below 120°F and milk chocolate below 110°F. After preparing our molds, we pour the melted chocolate, tap gently to release air bubbles, and allow it to set correctly for best texture. By applying a range of toppings, we can further enhance the visual and flavor profiles. For additional insights into techniques and variations, further exploration is beneficial.
Key Takeaways
- Choose high-quality pure chocolate with appropriate cocoa content for rich flavor and texture in your buttons.
- Melt chocolate using a double boiler or microwave, ensuring temperature stays below 120°F for dark chocolate and 110°F for milk/white.
- Pour melted chocolate into clean, dry silicone molds, tapping gently to remove air bubbles.
- Add toppings before the chocolate sets to ensure they adhere well, like colorful sprinkles or sea salt flakes.
- Cool chocolate buttons at controlled temperatures for a glossy finish, ensuring they set properly within a few minutes.
Selecting Your Chocolate Variety
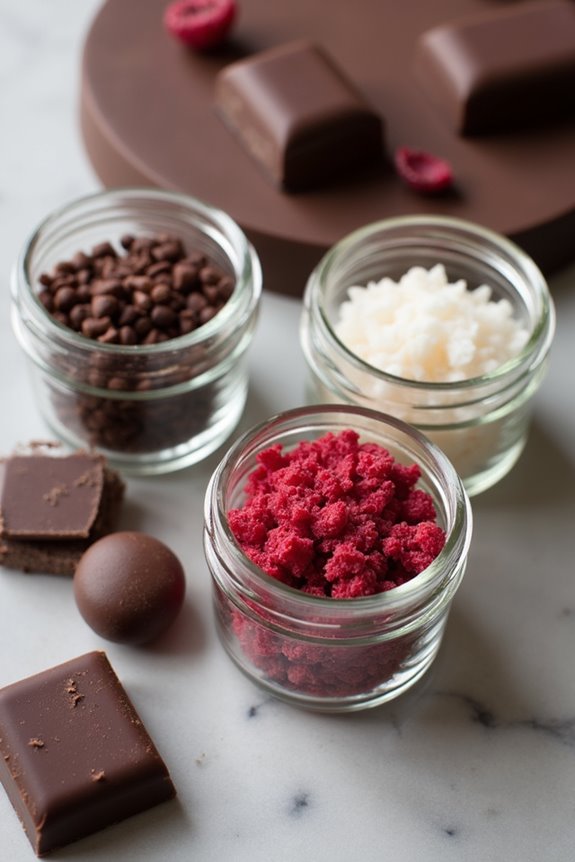
Selecting the appropriate chocolate variety is essential for achieving the desired flavor profile and texture in our chocolate buttons; consequently, understanding the distinctions between pure and compound chocolates, as well as their specific characteristics, becomes imperative. Among the chocolate types available, pure chocolates, which contain cocoa butter, offer a rich flavor and creamy texture, whereas compound chocolates, featuring alternative fats, present a different mouthfeel and flavor profile. The cocoa content plays a crucial role in this selection; for instance, semi-sweet chocolate, which contains approximately 35-60% cocoa solids, balances sweetness and darkness, making it ideal for buttons. Conversely, higher cocoa percentages often yield intense flavors suited for more sophisticated applications, ensuring our creations meet the expectations of discerning consumers. Additionally, many consumers have reported a preference for pure chocolate over artificial alternatives, underscoring the importance of quality in chocolate selection.
Recommended Products

Chocolatey Goodness: Indulge your love of chocolate with Lakanto’s Chocolate Bars. Enjoy this sweet, gourmet treat created by master chocolatiers. Use in your favorite recipes, ganache, hot chocolate, truffle, frosting recipes, and more.
Attributes: Kosher

Melting Chocolate: Techniques and Tips
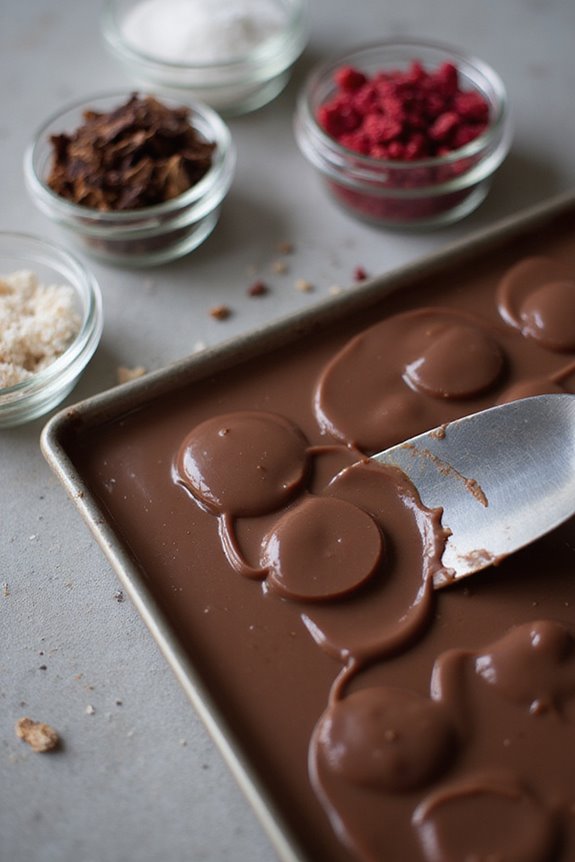
Having chosen the appropriate chocolate variety, we now focus on the melting process, which plays a pivotal role in creating uniform chocolate buttons with a smooth finish and ideal texture. There are various melting methods we can employ, including a double boiler, microwave, and slow cooker, each advantageous in controlling chocolate temperatures to prevent burning. For dark chocolate, we maintain temperatures below 120°F (49°C), while milk and white chocolate should not exceed 110°F (43°C). By chopping chocolate into small, even pieces and stirring gently, we guarantee uniform melting and reduce the risk of scorching. It’s paramount to utilize dry equipment, as moisture can cause seizing, thereby compromising the viscosity and overall quality of our melted chocolate. Additionally, using food-grade materials ensures the safety and integrity of your chocolate during the melting process.
Recommended Products

Each component is made of heavy gauge, impact-resistant 3003 aluminum for long-lasting use. Plus, thanks to the aluminum material, each piece of this set conducts heat well to ensure even, consistent cooking.

20 Quart – Large capacity perfect for soups, sauces, and bulk melting

High Efficiency: This chocolate melting pot has 300W power, U-shaped heating pipe and stainless steel with good thermal conductivity to heat more evenly and quickly, allowing you to use it more efficiently.
Forming Chocolate Buttons
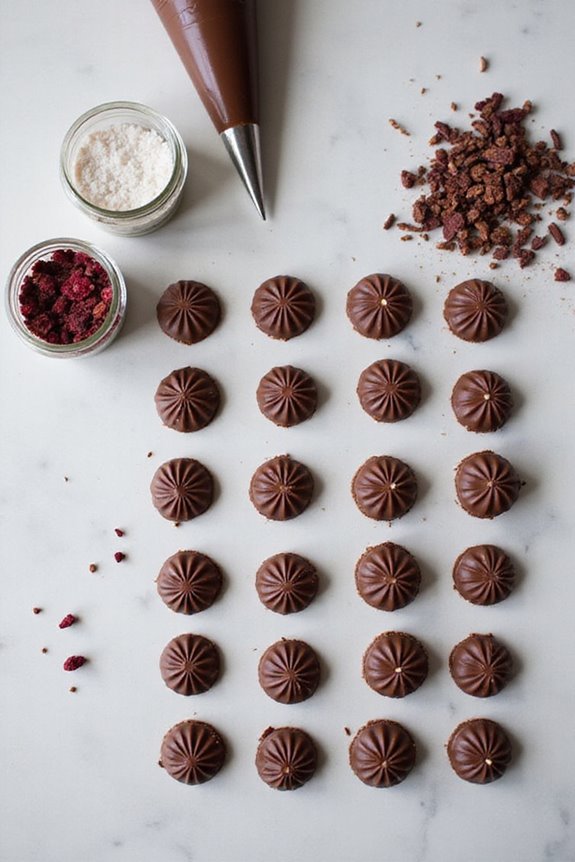
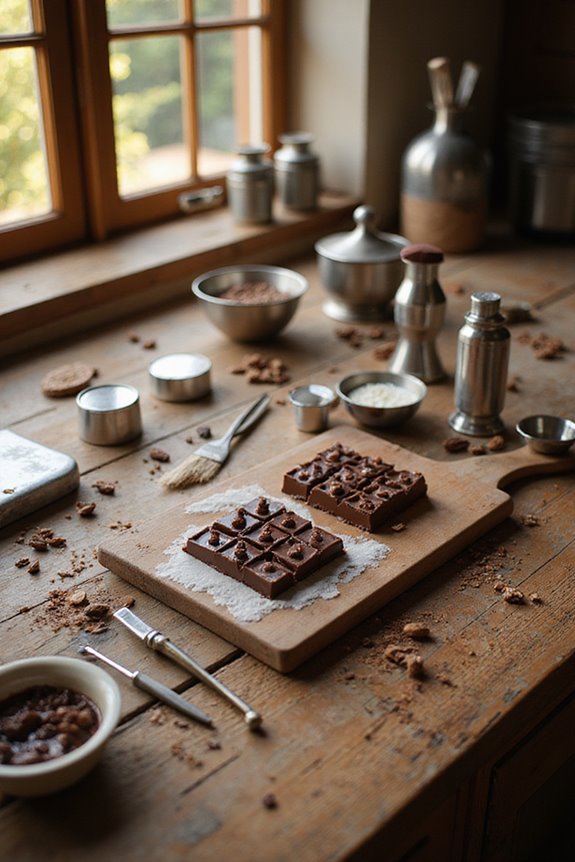
Forming chocolate buttons requires meticulous attention to detail and precision throughout the process, as the selection and preparation of molds directly influence the quality and consistency of the final product. Utilizing appropriate mold materials, such as non-stick silicone or shiny tiles, guarantees ease of demolding and prevents absorption. Employing molding techniques, like vacuum-forming for intricate shapes and slow cooling for stability, aids in achieving flawless results. We must verify the molds are clean, dry, and stable, positioning chocolate buttons securely and allowing adequate separation (at least 0.5 cm) to prevent merging. After pouring tempered chocolate, we gently tap the mold to eliminate air bubbles, facilitating smooth surfaces that enhance professional presentation and maintain the desired shape and integrity of the buttons. Additionally, using molds made from food-grade materials ensures both safety and durability throughout the molding process.
Recommended Products

1. High-Precision Platinum Cure Silicone Platinum-cured liquid silicone designed for accuracy-critical molds, offering excellent dimensional stability and fine detail reproduction for professional mold making and casting.

Food Grade Silicone - Our Cast-A-Mold Platinum is food-grade and FDA-compliant, perfect for creating your own silicone molds for candies, chocolates, and pastries. This mold-making kit is also suitable for casting epoxy and resin.

Quick Mold Creation - Hate waiting? With Alumilite's Amazing Mold Maker, you can create instant molds in just 30 minutes and fully cure in 24 hours. Perfect creating wax mold, soap molds or casting epoxy resin..
Decorating With Toppings
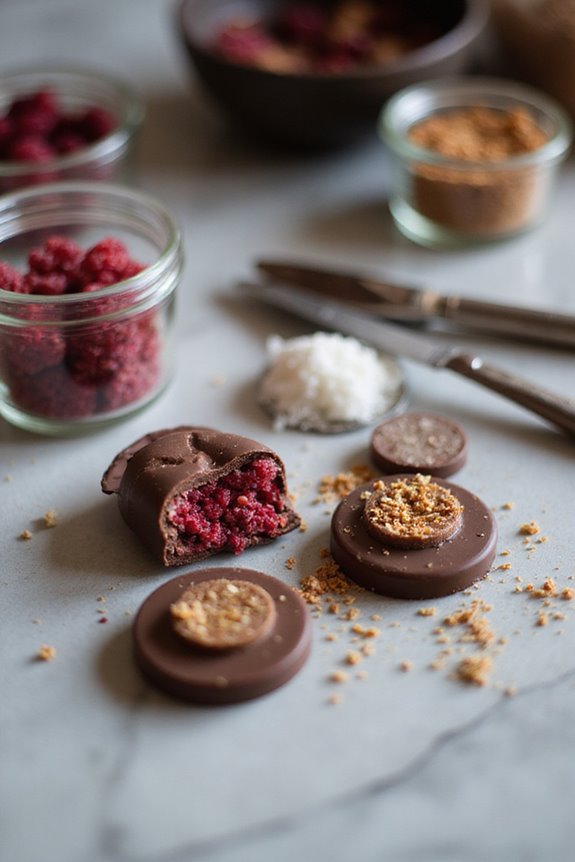
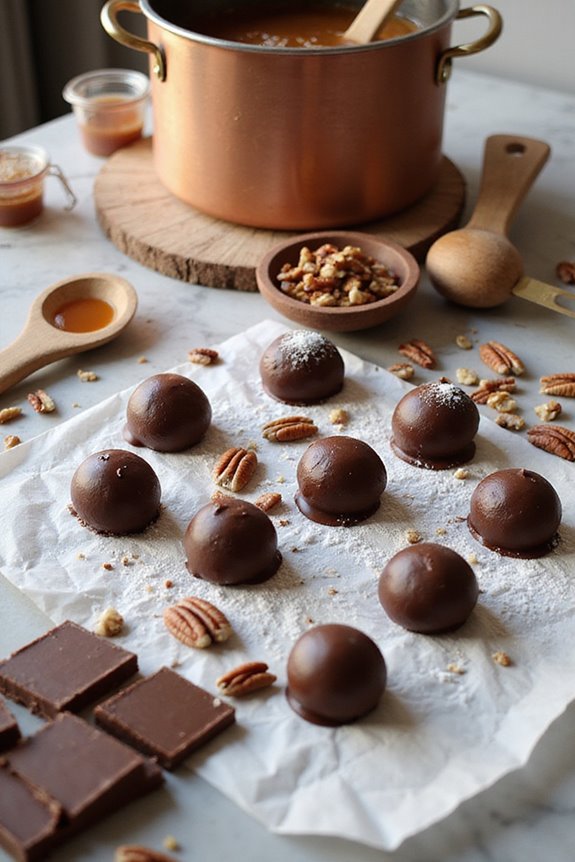
With the chocolate buttons meticulously formed and ready for enhancement, the next phase involves the strategic decoration with toppings that augment both visual appeal and flavor profile. We can create various topping combinations, such as pairing colorful sprinkles with crushed nuts for a delightful contrast in texture and taste. For sophisticated visual designs, consider layering dark chocolate with white sprinkles, thereby maximizing color contrast. Additionally, adding sea salt flakes can provide a savory counterpoint to the sweetness of the chocolate. When applying these toppings, it’s imperative to adhere to best practices, such as ensuring toppings are applied while the chocolate is semi-set to guarantee ideal adherence, enhancing both aesthetics and flavor integration effectively. Additionally, consider using oil-based powders to elevate the color vibrancy of your chocolate buttons, creating a visually stunning treat.
Recommended Products

Our Dulcey blond crunchy pearls add elegant looks and an appealing contrast of tastes and textures to baked goods, patisserie, confections, and desserts.

OliveNation Chocolate Decorating Flakes, Edible Decorative Dessert and Ice Cream Topping, Compound Chocolat

✔️CREAMY AND SOFT: Organic Macadamia Nuts have their husks removed right after gathering so that you can enjoy nuts that are creamy and have a unique soft texture.
Setting Your Chocolate Buttons
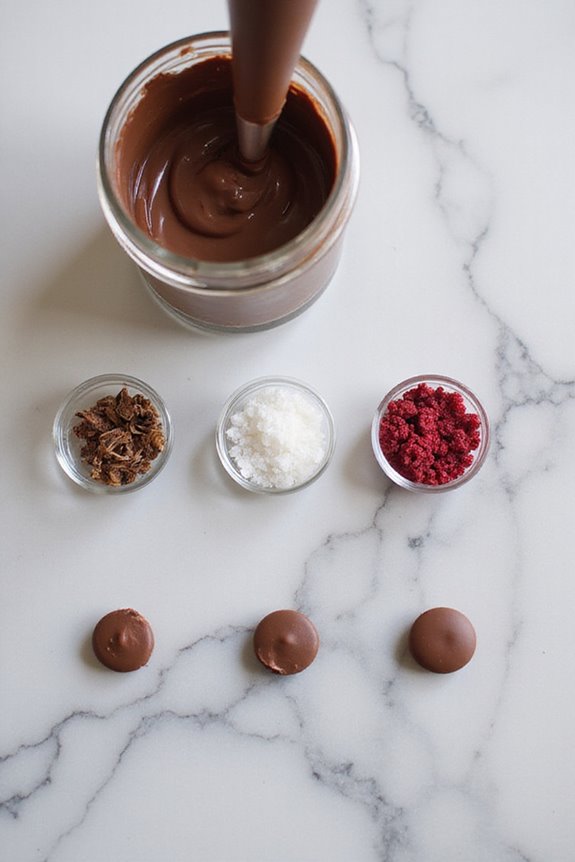
As we set our chocolate buttons, it’s essential that we adhere to ideal temperature control to guarantee the desired texture and sheen, which are indicative of correctly tempered chocolate. Utilizing effective tempering techniques, we can melt chocolate to appropriate temperatures—around 30-31°C for milk chocolate—before cooling strategies are applied. For instance, spreading the melted chocolate thinly on a marble surface facilitates rapid cooling while stirring distributes heat evenly throughout. We may also consider the seeding method, integrating solid chocolate buttons to promote crystal stabilization. Ensuring the chocolate sets within approximately three minutes confirms successful tempering, as slower times indicate the necessity for adjustments. Overall, mastering these cooling methods combined with vigilant temperature monitoring results in flawless chocolate buttons. Additionally, using a chocolate tempering machine can significantly enhance the precision of your melting process and temperature control.
Storing and Preserving Freshness
To guarantee the longevity and quality of our chocolate buttons, it is essential that we implement proper storage techniques, considering factors such as temperature, humidity, and ambient conditions. The ideal storage environment for chocolate buttons lies between 60°F to 68°F (15°C to 20°C), maintaining humidity levels below 50-55% to prevent spoilage and sugar bloom. Utilizing airtight containers is vital; these not only safeguard against oxidation and unwanted odors but also extend the shelf life considerably compared to open storage. Additionally, we must prioritize avoiding refrigeration, as it can cause condensation and flavor degradation. By adhering to these handling tips and storage methods, we assure that our chocolate buttons retain their desirable texture and maintain ideal freshness for months. Furthermore, choosing BPA-free plastics for storage containers can help ensure safety and preserve the quality of the chocolate.
Creative Variations and Uses
Chocolate buttons, known for their versatility and ease of use, provide a plethora of opportunities for culinary innovation and creative expression in various baking and decorating applications. By incorporating chocolate buttons into cookie dough or brownie batters, we can achieve enhanced flavors and textures. These buttons serve effectively as toppings on cakes or puddings, greatly improving visual appeal during festive presentations. Additionally, they can be creatively arranged to craft elegant designs on desserts or transform them into personalized messages on cupcakes. Utilizing chocolate buttons in chocolate sauces or no-bake fudge expedites preparation while optimizing flavor richness. Ultimately, through these innovative uses, chocolate buttons invite experimentation, allowing for countless creative recipes that appeal aesthetically and gastronomically.
Recommended Products

[Mini Pancake Maker]Our pancake maker is made of food-grade stainless steel, which is durable and sturdy. The 1800W high power, premium heating tubes, and 50-hole design enable the product to be heated quickly and evenly and allow it to make more waffles at once
🔥【Unleash Your Waffle Magic】Pancake maker makes crafting a wide range of yummy foods into a simple task. You can choose to serve them with icing sugar, honey, chocolate sauce, butter, or other toppings—unlocking your culinary creativity and treating yourself to a unique morning meal.

The information below is per-pack only
Frequently Asked Questions
Can I Use Chocolate Chips Instead of Bars for Buttons?
We wouldn’t recommend using chocolate chips for buttons. Instead, we suggest exploring chocolate chip alternatives like baking bars or couverture drops. They offer better melting chocolate techniques, resulting in smoother, more flavorful treats for our projects.
How Do I Avoid Chocolate Seizing While Melting?
To avoid chocolate seizing while melting, let’s use gentle melting techniques and high-quality chocolate. We’re not trying to launch a chocolate spaceship here—slow and steady wins the race, folks! Keep everything dry, and we’ll be golden!
What Toppings Work Best for Different Chocolate Types?
For milk chocolate toppings, we love creamy chocolate chips and caramel drizzle. When it comes to dark chocolate toppings, dark chocolate curls or sea salt flakes elevate the experience beautifully, adding flavor complexity and texture.
Are There Vegan Options for Chocolate Buttons?
Picture a world where creamy, dairy-free chocolate buttons melt in our mouths. Yes, there are plenty of vegan options, including delightful dark chocolate alternatives, ensuring we can enjoy every luscious bite guilt-free!
How Long Does It Take to Temper Chocolate Properly?
To temper chocolate properly, it typically takes us about 5 to 15 minutes, depending on our chosen chocolate tempering techniques and chocolate cooling methods. With practice, we can refine our timing for great results!